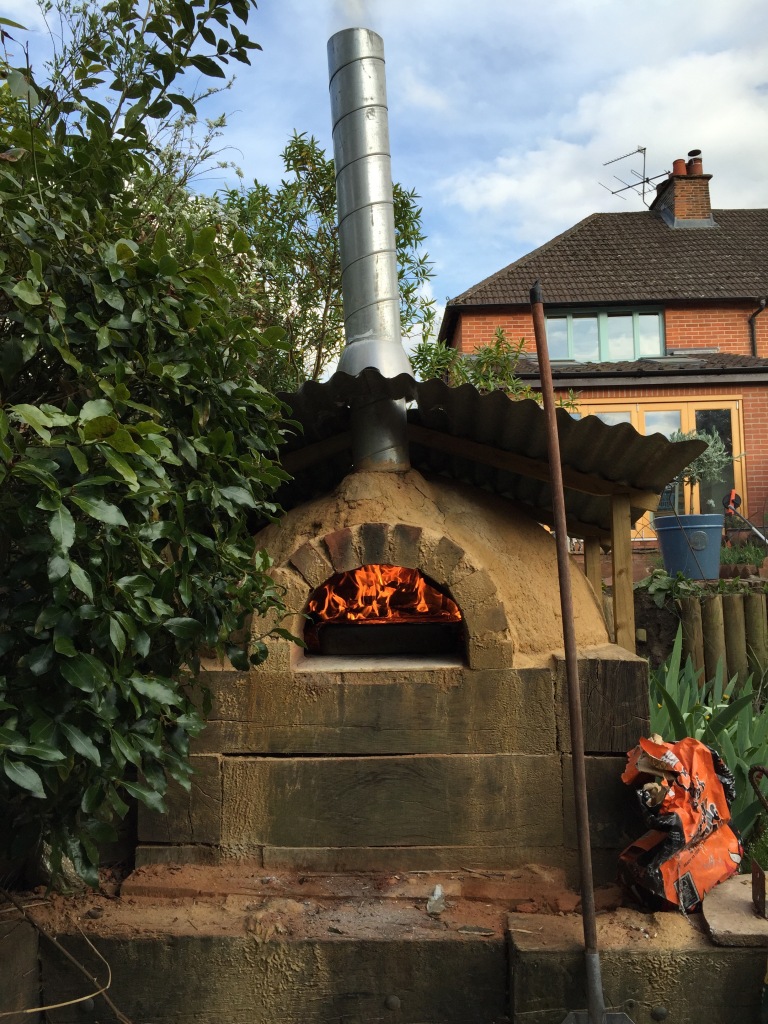
 In my book I outline the steps one should follow to build a traditional pizza oven. As a result of following these instructions, lots of people all over the world have now built their own ovens. One question I still get asked quite often is how much x do I need (where x can be clay, sand, bricks etc.). To be fair, I didn’t include lots of quantity details in the original book (new edition coming soon) because, to be totally honest, I didn’t record this information during my first build.
Anyway, at a recent build I made sure I took note of everything we used, and so here are those all important quantities and a full list of other equipment required.
NOTE: 1 bag of builders sand (approx. 15kg) fills a 15 litre bucket.
RATIOS
Normally I prescribe a 2:1 ratio of sand to clay but this is a rule of thumb. You need to aim for a mixed material which holds firm, is not too soft (or wet) and not too dry. If it is too wet (or if there is too much clay) it will slump around the base of the layer you are building.
In the quantities outlined below I use a ratio of 2:1.5 for the first and outer layers, and a softer, clay-rich ratio mix of 1:1 for building the brick arch, the backfill and chimney, mainly because it is manipulate.
Clearly the plasticity of the mix will depend upon the moisture content of the clay and the sand you are using. The drop test* will help. I’d always err on the dry side, you can always add a little water (or more clay) if you need to.
SAND – 18 bags (approx. 270 kg)
- 10 for the dome former
- 4 for the first (oven) layer
- 2 for the brick arch, backfill and chimney
- 2 for the brick arch former
- 7 for the final layer (you will use the sand excavated from the dome and arch formers for this final layer which means you’ll have approx. five bags leftover at the end)
CLAY – 12.5 buckets (approx. 190 kg)
- 3 for the first (oven) layer
- 2 for the brick arch, backfill and chimney
- 3 for the insulation layer
- 4.5 for the final layer
OTHER MATERIALS AND EQUPIMENT
- 2 large bags of wood shavings
- 36 London bricks (11 for the arch, 25 for the oven floor)
- Water
- Rubble / hardcore (for the plinth fill)
- Large wooden “beams”, sleepers, logs or bricks for the plinth (this depends on how you decide to build it)
- Cement if you are building plinth out of brick
- Right-angled brackets and screws if constructing plinth from wood
- Glass bottles (optional)
- Old newspapers
- Plastic rubble sacks
- A bucket or two
- A drill with plaster mixer (optional)
- A knife
*Drop Test – Form a tennis ball sized clay:sand ball in your hands. Drop the ball onto the ground from shoulder height. If the ball explodes, the mixture is too dry, if it “splats” it is too wet. Ideally the ball should just hold together.


