Almost two years! I can’t believe the last time I posted on here was almost two years ago. That is just crazy! I have been really busy with other life stuff (mostly the day job) but still – TWO YEARS! Anyway, I’m back (in the room!) and raring to go.
I know you are all dying to know how my oven is (aren’t you?). Anyone who has spent any time reading through previous posts on this blog will have noticed that, periodically, there is a blog post about how badly I have neglected my oven and then how I have gone about fixing it up. Well, for the sake of consistency (nothing to do with laziness!) I am sad to say that I have done it again.
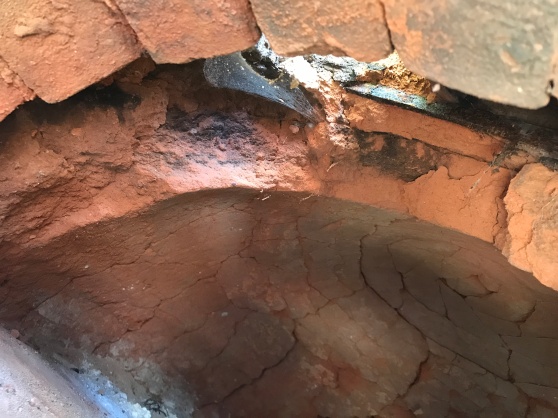
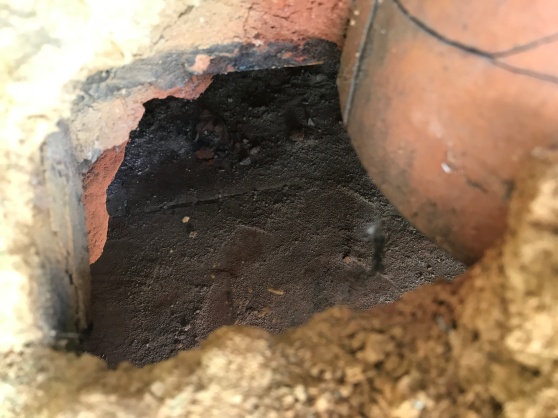
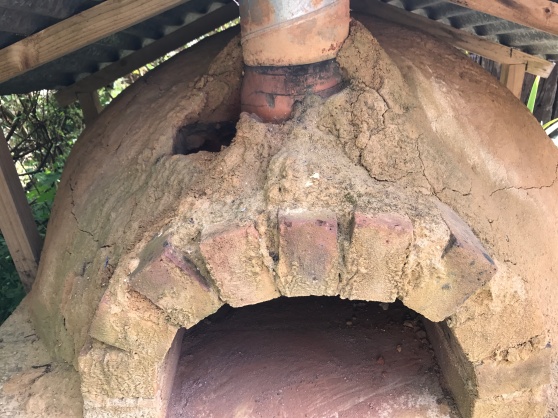
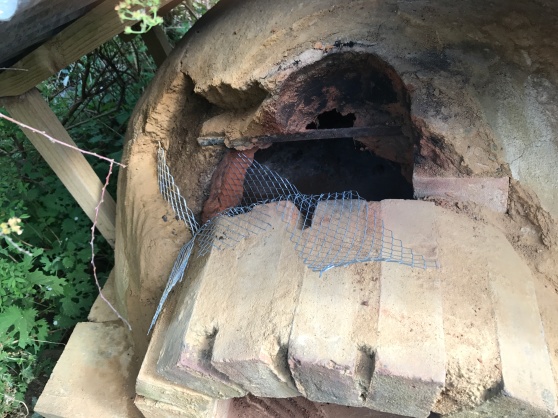
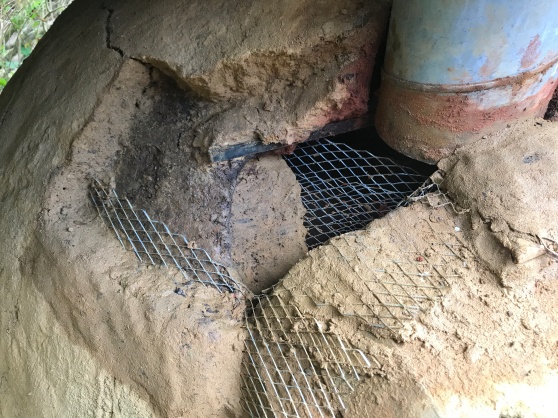
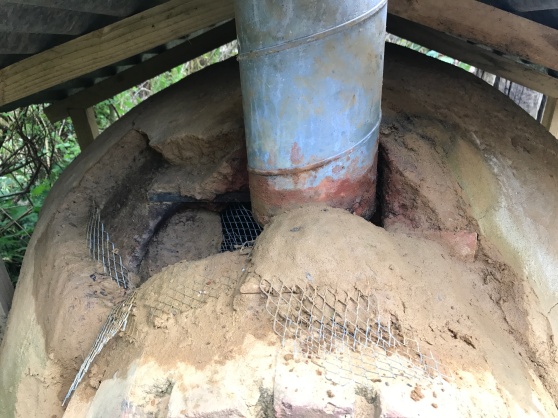
Have a look at the next few photos – it’s really bad this time isn’t it?
Not only a whopping, great hole but this time a hole in the inner oven layer, which is a problem. This is all water damage by the way. My roof has lots of holes and, critically, water runs down the outside of the chimney and erodes the oven layers. In previous states of neglect, the inner (oven) layer has stayed pretty much intact. However, this time it has not! The big problem with this is that, while it is relatively easy to replace the outer two layers, replacing the inner layer would essentially mean smashing the whole thing apart and building a new oven from scratch, and I really didn’t want to do that!
So, how to fix it? Well, if I could find a way to fix some sort of structural support across the hole, I think I it would be possible to add some sand:clay mixture to plug it. But what to use? After a visit to my local DIY store, I found just the thing – EML!
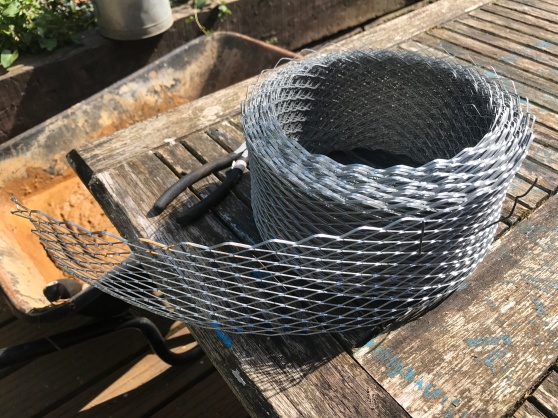
EML or galvanised Expanded Metal Lath Sheet is wire mesh used by plasterers as a key for certain types of walls and ceilings. I managed to get a roll of this stuff which was just perfect for the job. It is really easy to cut (with wire snips), light in weight and moulds well into the organic shapes required for fixing my oven.
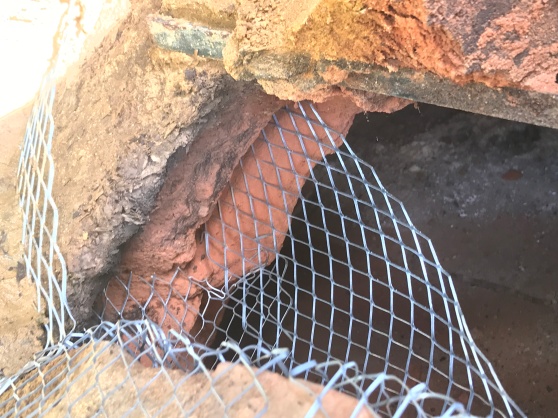
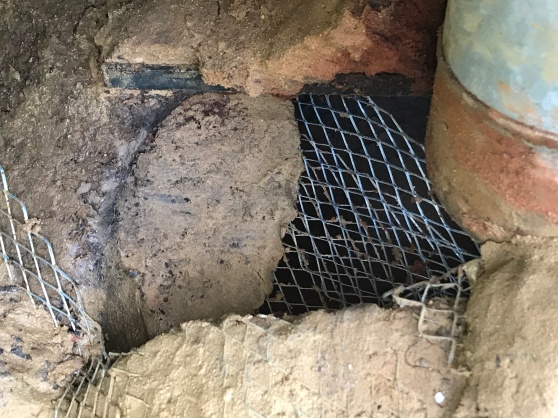
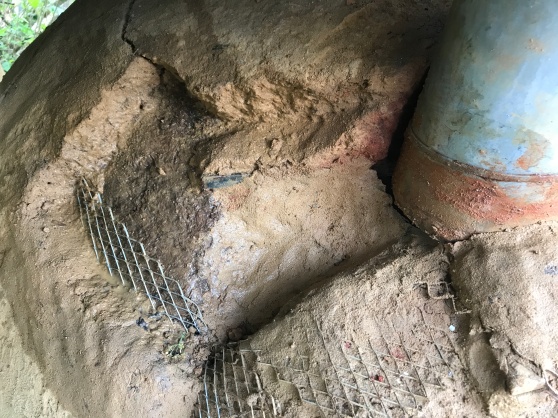
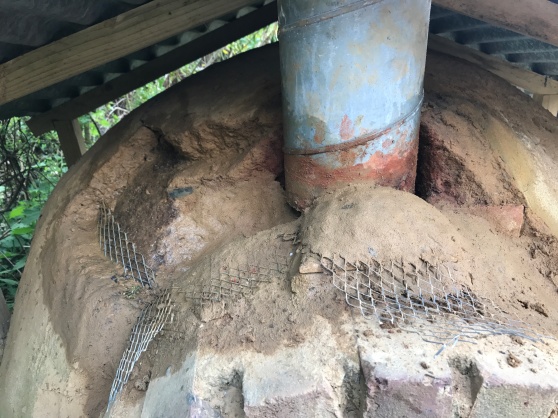
So how did I go about using this stuff|? Firstly, I removed the chimney and some of the outer layers of the oven from around the hole. I then carved a groove into the centre of the cross-section of the inner oven layer in order to create a space to receive one end of a length of the EML. I formed the other end of the EML to fold over the rear lip of the brick arch (it’s hard to describe, so have a look at the following photos).
You will also see that I added more of the EML mesh on top of the second layer, also moulded over the brick arch. The plan was to then add wet sand:clay mixture to secure the ends of the EML in place and then to fill up the gaps (the hole) with more of the same material.
The following series of photos shows how this progressed.
I gradually pressed the sand:clay mixture into the gaps and onto the mesh, building up layers until the hole was repaired.
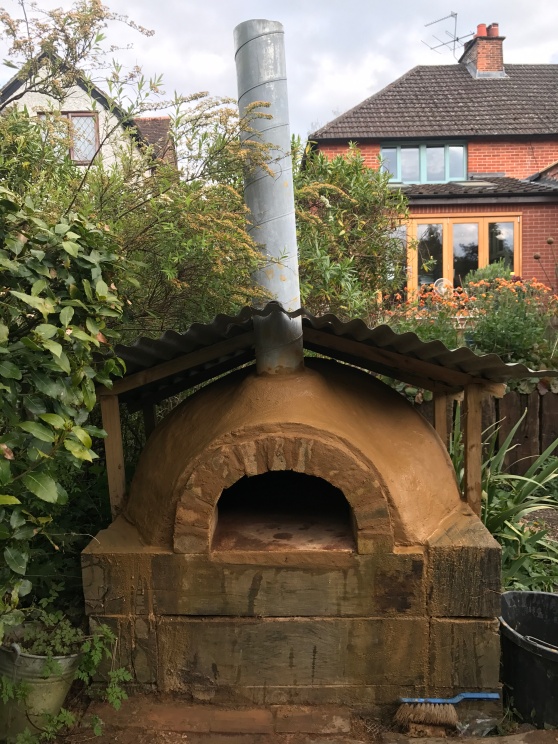
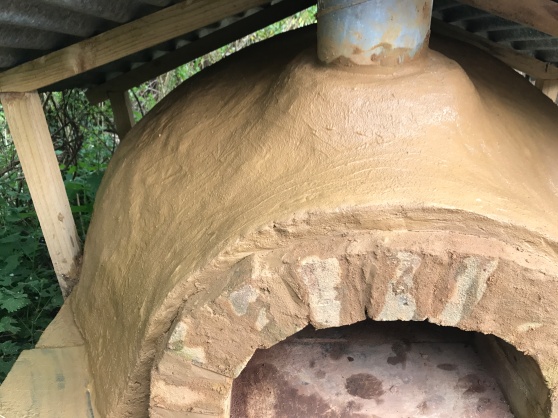
Here’s a couple of photos of the finished, newly repaired oven.
I think she looks rather wonderful again!
It’ll take some time for the oven to dry, and I’m sure some new cracks will appear as it does but they can be plugged with more mixture.
So what have we learnt? Firstly, I’m terrible at looking after my oven. If only I had bothered to cover it properly with a tarp, over winter, I wouldn’t have had to do any of this (my bad!). Secondly, these ovens can be repaired to full working order, even after serious neglect. Finally, this little oven is incredible. It is now 9 years old which, given how badly I treat it, demonstrates how incredibly robust they are.
I won’t let this happen again – honest!
voov…! i like. veryyyy good post thanks
Hi Simon,
A year on, how is the repair holding up? If you were starting to build a new oven, would you try to use the mesh (or maybe chicken wire?) as an integral part of the clay layers? Could it prevent cracking altogether, or do you think that the regular expansion and contraction of the metal might actually cause multiple tiny cracks over the entire layer, causing the whole thing to disentegrate into a crumbly pizza topping?
The oven is still hanging on in there but as it is over 10 years old now, and given that I have not looked after it as well as I could have, I think it is almost time for a rebuild.
Pingback: Just add water! | The Clay Oven
so the question is: how many times did the oven get used in the year. I fire mine up in winter to drive of any moisture
As I said, Rick, I’m not a very considerate oven owner. If there was a RSPCO (Royal Society for the Prevention of Cruelty to Ovens), I’d have been arrested and charged by now!
Hello Simon, well done, great repair. I lashed loads of cement on mine to form an outer skin and apart from a small crack it seems to have got through the winter (a Scottish one at that). I will fire it up soon to see if it’s all right. Here is a photo of it not quite finished.
Nice one John. I have considered doing that but have not got around to it yet. I’ll see how things go! Best of luck with the firing. Oh, I didn’t get a photo so if you want to send one you can email me (simon.brookes@gmail.com). Cheers.