A page dedicated to the ovens that you have built. Send me a photo, or a link, and I’ll add it to the gallery. You can email me directly at: simon.brookes@gmail.com.
Reid Maclean, Narrowsburg, NY.
Reid and his delightful family built this beautiful cob oven in their home in rural New York. He plans to put another 2” layer of cob over the insulation layer, and finish it off with either a lime plaster coat or cob/manure coat, but he’s not stopping there. Reid told me, “I’m going to be installing a 3” black walnut countertop to the left of the oven and circling the base of the oven. With the leftover fire bricks, I’m building a rocket stove with a cast iron pot over the chimney”. Hands up, who wants Reid to build their oven for them? This is a wonderful project and I can’t wait to see the finished photos. Best of luck Reid!


Michael Dovichi, Algoma, Wisconsin.
Here’s a beauty, with a twist. Michael’s oven has a concrete outer layer, a brick front and a beautiful, iron door. I’m sure the protective outer layer is essential protection against the Wisconsin rain and cold winters. Nice work Mike!


Lesley & Ian Ross, UK
There are pizza ovens and there are pizza ovens. This is a work of art! I don’t think I have ever seen an oven that looks so neat. Well done Lesley and Ian. Just make sure you keep it covered well over the winter, the horizontal rain can play havoc.


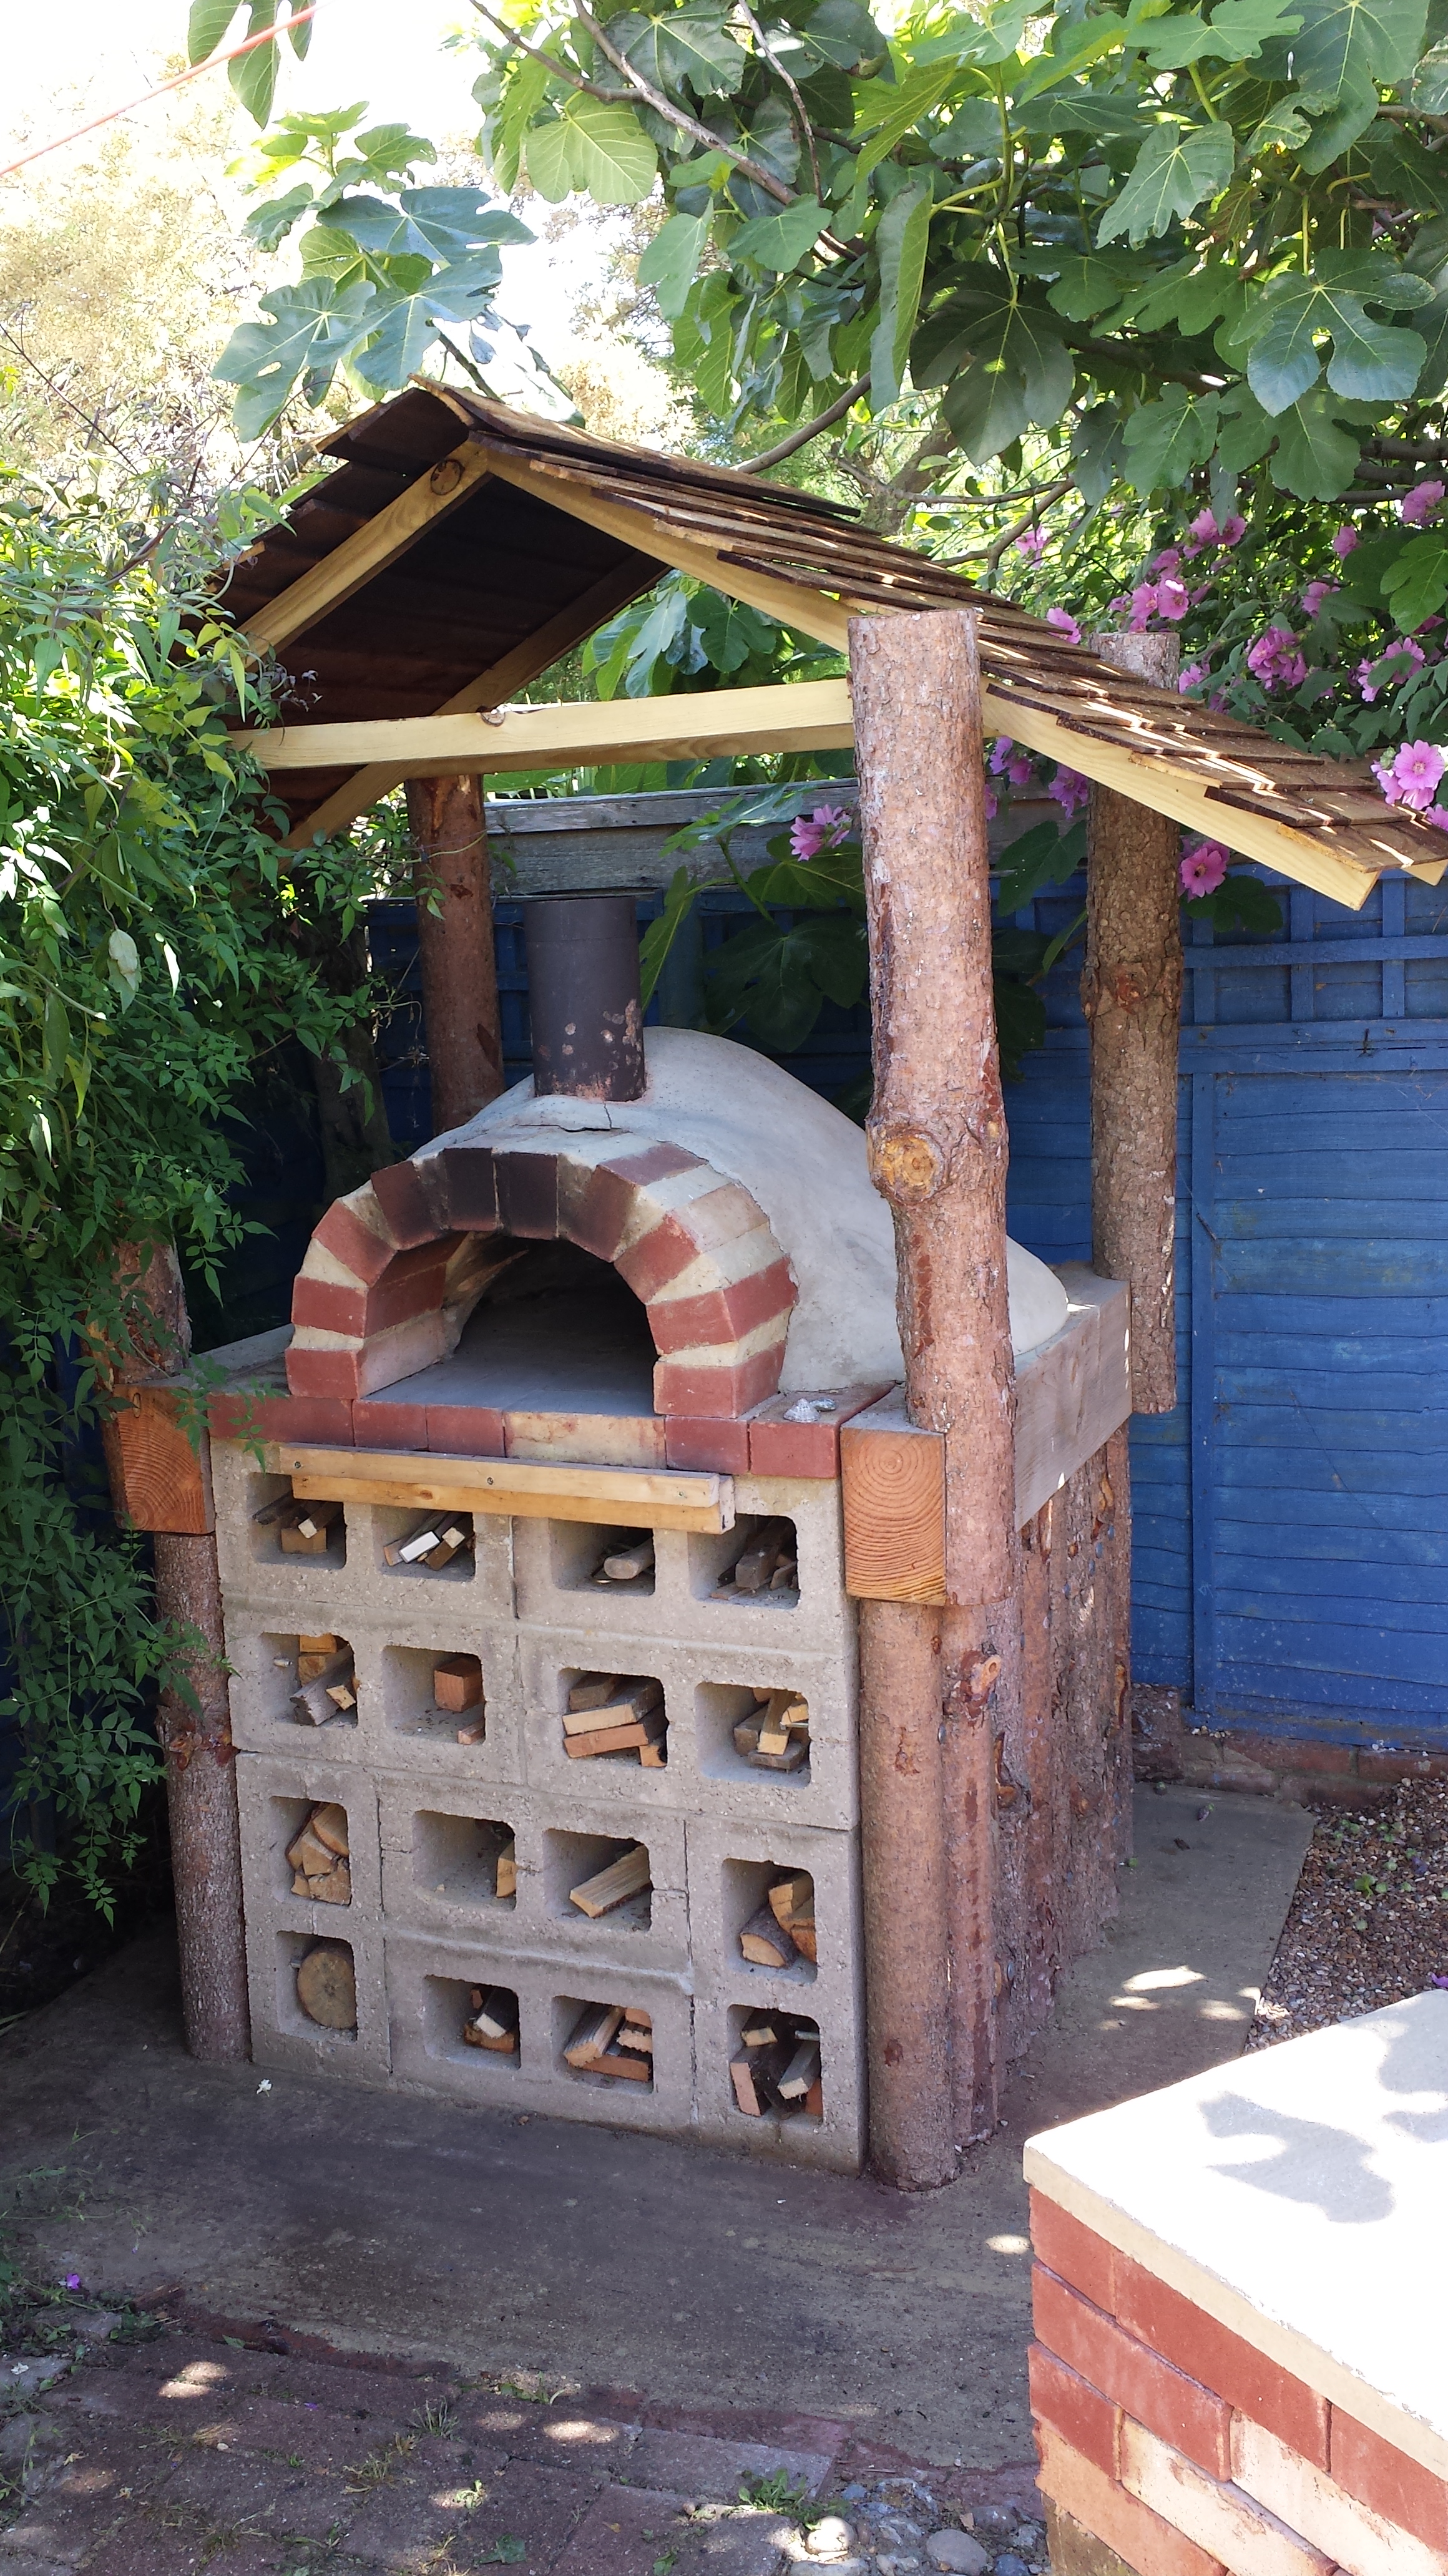
Jonathan Mulgrew and Richard Seaby, New Forest, Hampshire, UK
Jonathan and Richard came to one of my oven building courses earlier this year (2014) and decided to work together to build this fantastically neat oven. They said,” We built a concrete block plinth then rendered it. We found some corian work tops someone didn’t want so made some counters to make the pizzas on and left a space for the BBQ.”. Clearly I must be doing something right on the courses although, I have to admit, this puts mine to shame! Great work chaps.


Paul Chatten, Bromborough, Wirral, UK
This neat oven has a base of firebricks from old storage heaters, a vermiculite and lime mortar jacket, applied in two 1.5 inch coats. Sweet!
-

- Paul Chatten’s Oven


Tesh Chudasama, UK
Tesh has been busy making a new oven. This is oven version 2.0 and it looks even better than his first one. Nice work mate!
-

- Loving the work station next to the oven.
-

- A Contemporary looking beast
Paul Wild, near Huddersfield, UK
What a neat and perfectly formed oven. Paul tells me that he used brick to build the oven dome (I’d like to see pics of the construction) then finished it off with a 2″ render. Magic!

Tesh Chudasama, UK
This is a work of art! Fantastic work Tesh.

Richard – Felpham, West Sussex, UK
A neat little oven with a nice roof. Richard used perlite mixed with clay as insulation layer. He has also rendered the outside for a smooth finish. Nice!
John Hinds – New Zealand
Here’s a lovely oven from the other side of the earth (well, to me anyway!). John has used a few different techniques during construction. I’ll let him explain:
“For longevity, we did decide to cover it with a cement render but living on an island where many houses have been made out of mudbrick, plenty of builders were happy to share knowledge. We did the three layers of clay and straw, but before we put on the cement render, I got a large pile of straw and mixed it with a very a runny clay slip. This was put all over the oven and then covered in chicken wire to hold it in place. The cement render was then laid on top so when the oven expands with the heat, the straw allows this expansion without cracking the render. We also put in a colour into the cement so now fits into the garden better.”
How cool is that? An oven, i’m sure you’ll agree, that would not be out of place in Bag End! Thanks for sharing John. Here’s some piccies.


Fraser Petrie – Aboyne, Aberdeenshire, Scotland
Fraser has built a beautiful oven using local materials and with a few interesting adaptions. I am amazed by the dry stone plinth which must be about 7feet high? Fixing the chimney in place with chicken wire is also a great idea. Here’s to some fine weather in which to enjoy the pizzas!


Tom Goode – Scarborough, UK
With a name like Goode I think it was inevitable that Tom would one day build an oven (it’ll be a small holding and giving up the day job next Tom!). Tom says he would like to build another now. Go on – why not?!


Salvatore Michael – Tampa, florida
I love this oven! Salvatore has designed it to look like the mythical, octopus headed monster, Cthulhu – any why not! H. P. Lovecraft would have been proud. Great work Salvatore and thanks for sharing.

David Levin – Cape Town, SA
David Wrote: I Am a student at the University of Cape Town studying mechanical engineering. I spontaneously decided to build a pizza oven in the June/July Winter holidays, I came across your E-book, and I recruited some friends to help me follow your steps to build a pizza oven in my front yard. I had a pizza evening the other night and I thought I’d write to you to show my appreciation.
A couple of comments about my pizza oven:
· I made some design alterations. As I have a small yard with little greenery, I didn’t want to destroy all the greenery I had and take up all the space, I made a corner model. This worked really nicely.
· My pizza oven is significantly larger than your specs, just so that I would not have to make 1 pizza at a time.
· I used rosso clay mixed with sand. As it was winter, the first layer took 2 weeks to dry completely. This difference in the time that was expected caused the pizza oven to collapse a couple of times.
· I found that with a flue, the oven gets hotter and water wont seep through hole.
· Without a waterproof paint, the clay literally melts with the introduction of water!
· There was a lot of trial and error and my house was a construction site for 4 months. One needs to be resilient and learn from mistakes, and just keep reconstructing!!
Another important thing that I learnt was that the bottom (edges) of the first layer was not completely dry before applying the insulation layer while the top was rock solid and 100% dry from the fire inside. Eventually the oven collapsed and we were under budget, so we rehydrated the rock solid clay as the clay/sand mixture to be put on the new sand former on the second attempt. We were hesitant to do this as we didn’t know if rehydrating the hardened clay would be a success!! Thank god it held strong and conducted heat!!
The whole project cost R2700 (£190) with paint.


John Francis – Russell Springs, Kentucky, USA
John said: “Kimberly’s vineyard, and berry patch are in the background. In it’s maiden voyage last night it got so hot that we toasted marshmallows over the chimney! For the thermal layer, we used hay stubble and clay slip, rather than wood.”
Thanks for the photo John. Enjoy!

Kimberly’s vineyard, and berry patch are in the background!
Oscar de Bruijn – Manchester, UK
A very neat oven by Oscar who, incidentally, built the brick arch first. That’s the second time I have seen this done lately. Nice work Oscar, thanks for sharing.

Oscar’s Oven in Manchester, England.
Jim Harrison – Northumberland, UK
Examples of awesome ovens are coming thing and fast recently. This oven by Jim Harrison is no exception! It’s a work of art (literally) – just look at that chimney. Here’s what Jim said about his oven:
The oven was quickly nicknamed George, after George Stephenson the great Industrialist and the most famous person from this region. Well I suppose I could have called it Gazza as he was full of steam and smoke most of the time too.
Best Regards and thanks again for a very informative blog.
Here’s the photos folks and a link to a video showing the build progress.
Thanks for sharing Jim!
-

- Interesting “organic” plinth construction
-

- The door, perfect arch and chimney
-

- Tribute to George Stephenson – Love it!
Jim Allen – Oxfordshire, UK
Another cracking example (no pun intended!) here from Jim who came on one of my courses earlier this year. Look at that plinth made from local Cotswold stone – amazing! Jim tells me he made pizzas for a large party of friends on the oven’s inaugural firing. He intends to fill that crack soon so it’ll be just perfect again. Nice work Jim.

A lovely oven with a gorgeous, natural stone plinth.

Jeanette’s Oven, Washington State, USA
Jeanette Harris – Washington State, USA
Jeanette wrote:
“I started building the plinth last September. Finished it right before winter started. Took most of the winter to “collect” empty wine bottles for the floor insulation.
We live on the west coast of the United States in Washington State on the slopes of Mt. Rainier. All this means our geography is much like yours in England except we are farther north….AND a lot of rain. (notice the blue canopy).
About a month ago I restarted construction. You can see how big it is. The interior of the oven is 36 inches wide and 44 inches deep. The dome is 17 inches high and the inside door is 15 inches wide. I started the first small drying fires 10 days ago and the first VERY HOT fire last Sunday. The oven floor eventually got to 900 degrees! It’s also going to have a fire place/grill to the left of the oven. I’m going to face the cement blocks with my own hand made tiles and I’m making a terracotta stovepipe for it. We (eventually) will build a structure for it to protect it and us from our winter rains.
For the 4th of July I made a beer can chicken and roasted onions and garlic.
I downloaded and used your book along with Kiko Denzer’s book. Between the two of them I could not fail!
Thanks for all the help!
Our plan it to make this the “community oven” for all our neighbors. It certainly is big enough”

A very neat and tidy example from Dave Slater in Belmont, Surrey, UK. I love the brick arch and the chimney.

Meet ‘Smokey Joe’ all the way from Brisbane, Australia. Builder (and owner) Ben Cramp told me he used “4 bags of powdered clay and about 8 bags of sand”. I noticed that Smokey Joe has no chimney but seems to fire just fine.

Lesley, Pas de Calais, has added some amazing bling to her oven. Pretty eh?

Adam Lofting’s Oven built in France – very nice!

Chef Clay G’s Oven in Nashville, Tennessee. What a beauty!

Jan Adámek’s Stunning Oven in Czech Republic

Geoff’s Oven, Queensland, Australia.

Lisbeth and the Family Schillig’s Oven in Tønder, Denmark. I love the log store below.

Luke’s Oven, Northamptonshire, UK.

A variation on the theme “made from scrap steel and local clay, steel fire box under the oven”, Bolton, UK.
")
What a neat little oven this is from Tony in Plymouth, UK. Great work.

Chris’ Clay Oven, near Ashover in Derbyshire, UK – Perfection!

An update from Chris (see above). A roof , chimney and door added. Love it!

Merry’s Oven (with Dragon!) – Devon, UK.

Linda Gibbons from Oklahoma (where the wind comes sweeping down the plain!) has built this wonderful oven.

Another fantastic example built by Adam in Cleveland, Ohio.

Hi
I am planning my cob oven and I would like to do the plynth made of railway sleepers. Can anywone please shed some light of best dimensions for the sleepers?
Thanks
I Want to paint designs on our clay oven we just built, but don’t know what kind of paint to use, that will stand the heat on the outside of the oven . I also want to make some clay decorations (3 dimensional) on the outside of the oven, but
don’t know how to get the clay to adhere to the outside of the oven. Any Ideas?
Thanks, Joy
Remember that these ovens will crack – even on the outer layer, due to expansion. I’d probably avoid decoration because of that. You might want to try adding an outer layer of concrete/mortar which should help prevent this. You could then paint on top of that.
Simon
We are in the middle of building ours, buy the book to get all the info you need. Loving the result so far. Pics will follow when we are done, hopefully this weekend.
Love this site! My hubby has built clay oven too.
Excellent. Send me some pics! 🙂
Thanks
Simon