Everything you need to build your own traditional pizza oven

IMG_0899
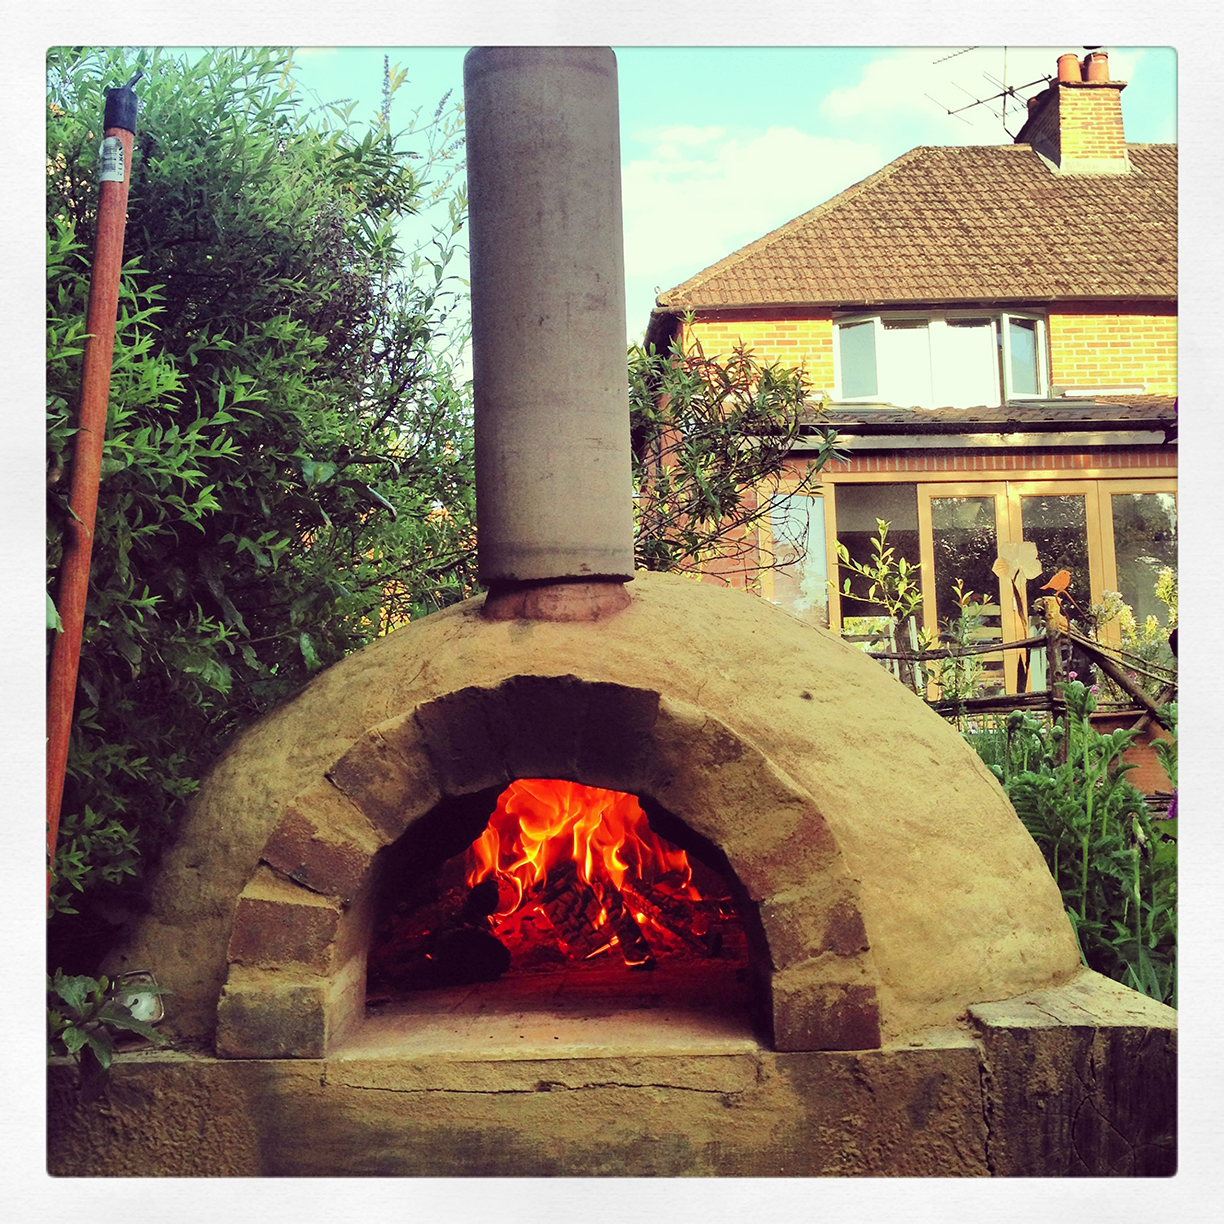
In my book I outline the steps one should follow to build a traditional pizza oven. As a result of following these instructions, lots of people all over the world have now built their own ovens. One question I still get asked quite often is how much x do I need (where x can be clay, sand, bricks etc.). To be fair, I didn’t include lots of quantity details in the original book (new edition coming soon) because, to be totally honest, I didn’t record this information during my first build.

Anyway, at a recent build I made sure I took note of everything we used, and so here are those all important quantities and a full list of other equipment required.

NOTE: 1 bag of builders sand (approx. 15kg) fills a 15 litre bucket. 

RATIOS

Normally I prescribe a  2:1 ratio of sand to clay but this is a rule of thumb. You need to aim for a mixed material which holds firm, is not too soft (or wet) and not too dry. If it is too wet (or if there is too much clay) it will slump around the base of the layer you are building.

In the quantities outlined below I use a ratio of 2:1.5 for the first and outer layers, and a softer, clay-rich ratio mix of 1:1 for building the brick arch, the backfill and chimney, mainly because it is manipulate.
Clearly the plasticity of the mix will depend upon the moisture content of the clay and the sand you are using. The drop test* will help. I’d always err on the dry side, you can always add a little water (or more clay) if you need to.

SAND – 18 bags (approx. 270 kg)

  • 10 for the dome former
  • 4 for the first (oven) layer
  • 2 for the brick arch, backfill and chimney
  • 2 for the brick arch former
  • 7 for the final layer (you will use the sand excavated from the dome and arch formers for this final layer which means you’ll have approx. five bags leftover at the end)

CLAY – 12.5 buckets (approx. 190 kg)

  • 3 for the first (oven) layer
  • 2 for the brick arch, backfill and chimney
  • 3 for the insulation layer
  • 4.5 for the final layer

OTHER MATERIALS AND EQUPIMENT

  • 2 large bags of wood shavings
  • 36 London bricks (11 for the arch, 25 for the oven floor)
  • Water
  • Rubble / hardcore (for the plinth fill)
  • Large wooden “beams”, sleepers, logs or bricks for the plinth (this depends on how you decide to build it)
  • Cement if you are building plinth out of brick
  • Right-angled brackets and screws if constructing plinth from wood
  • Glass bottles (optional)
  • Old newspapers
  • Plastic rubble sacks
  • A bucket or two
  • A drill with plaster mixer (optional)
  • A knife

*Drop Test – Form a tennis ball sized clay:sand ball in your hands. Drop the ball onto the ground from shoulder height. If the ball explodes, the mixture is too dry, if it “splats” it is too wet. Ideally the ball should just hold together.

Resilience

Anyone who has followed this blog over the last few years will be familiar with articles I post that demonstrate how, periodically, I neglect the oven and then have to undertake major repairs. This demonstrates two things. Firstly, I’m not very good at looking after my oven. Secondly, considering these ovens are only made from clay and sand, they are fundamentally extremely resilient.

My oven is almost seven years old now. I have, over the years, repaired the chimney, completely rebuilt the brick arch and replaced some of the outer layer around the front of the oven. You can see these repairs outlined in the following posts:

12. Repairs!

Winter Damage

Neglect!

Time for major repairs!!

Last year I had to replace a large section of the outer layer at the rear of the oven. The following series of photos outlines the process.

As you can see, the oven is very straight forward to repair. I normally keep a bag of clay:sand mixture at hand, ready to use for patching-up the oven when needed.

Obviously, if you take care of your oven better than I do mine, you’ll need to do this less frequently but what I think this demonstrates is that these ovens are much more resilient than most people would expect.

Happy Pizza Oven Builders

Last month’s Delicious Magazine article has already motivated some folks to have a go at building their own ovens. You can see a couple of readers attempts in this follow-up article. 

http://www.deliciousmagazine.co.uk/articles/meet-the-readers-who-built-a-pizza-oven-after-reading-our-how-to-guide

Fantastic work. Anyone else built an oven recently that they’d like to share with us all? Drop me an email or pop-by the Facebook page and tell us all about it (and send some pics obviously!).

I hope you have all had a fabulous summer. Role on next year!

Simon

Oven Building Course, September

I’m running another oven building course at the  Sustainability Centre, nr Petersfield if you fancy coming along.

This next course is on Saturday 13th September and costs £75.00/person for a whole day. This is a hands on (and hands/boots dirty) course. You will learn everything you need to know to build your own oven and experience for yourself making and eating delicious pizzas for lunch, cooked in the Centre’s own clay oven.

YOU ALSO GET A FREE COPY OF MY “HOW TO BUILD” BOOK.

Full details can be found here:
http://www.sustainability-centre.org/docs/course_id_179_course_pdf.pdf

To book a place or for further details please contact Sam on 01730 823166 or email her at courses@sustainability-centre.org

Places are limited and are selling out quickly so call soonish to guarantee a place.

Here’s some photos from our most recent course, earlier this year:

Another course and some sand:clay volumes

It’s a great day out (even though I do say so myself!)

Hope to see you there.

Simon