So now the fun begins! Before I get on to detailed instructions of how to build the oven I want to provide some details on preparing the all important building material – the sand-clay mixture.
Ingredients
- Builders sand
- Clay
- Water (optional)
Equipment
- Shovel
- Bucket
- Tarpaulin
- Thick plastic bags
- Wheelbarrow
- Wellington or other sturdy boots
- Legs!
You can buy builders sand from any building suppliers, some garden centres and DIY stores (e.g. B&Q). Either buy it in individual plastic bags or get a job-lot delivered – you will use quite a lot.
What type of clay should I use?
I have had quite a few questions about the type of clay to use. As far as I know you can use any type of clay you can get your hands on. I dug my clay from a local farmer’s field here in Hampshire (clay overlying Upper Cretaceous chalk if you are geologically minded – maybe Paleogene?). The team at River Cottage get theirs from a pond on site, in Dorset (I think it is Blue Lias). If you can’t find any clay locally you could always buy potters clay which would be wonderfully homogeneous – free from large particulate matter. Which reminds me, try to get clay does not contain too many stones – they are liable to form the focus of cracks in your oven if left in the mixture.
Quantities
The ratio of clay to sand is 1:2 (one part clay to two parts sand). I used a bucket as a convenient measure and found that one bag of builders sand almost filled two buckets which was nice!
I think it is wise to make-up just enough mixture (with a little bit extra) to complete one layer of your oven at a time. Why? Well if you make up a huge batch (enough to complete your oven) it could dry out before you get a chance to use it if you get delays between layers (if it rains for example). So how much do you need for one layer? This will vary depending on the size of your oven. For mine, if we define one “batch” as two buckets of sand mixed with one bucket of clay, the first (oven) layer took three batches (6 sand to 3 clay). This left enough over to fill small cracks after drying and to begin building the chimney. The outer layer required more mixture because it is covered a larger surface area. I used four and a half batches for this layer.
Mixing or Puddling

Clay chunks distributed onto sand ready for puddling.
Mixing the clay and sand is by far the most tedious part of the whole build process. What you are trying to achieve is a well-mixed material with no pockets of unmixed sand or clay and the only way to do this seems to be by using your feet. The process is known as puddling and it goes like this:
- Spread a tarpaulin out on a firm surface (double it over in case you get holes in it).
- Tip two buckets of sand in a pile onto the tarpaulin and spread out a little.
- Next, fill another bucket with clay.
- Take a chunk of clay and break it into small pieces (thumb sized) and distribute them over the surface of the sand (like throwing broken-up pieces of mozzarella onto a pizza base!). Take this opportunity to dispose of any stones or sticks you might find in the clay.
-

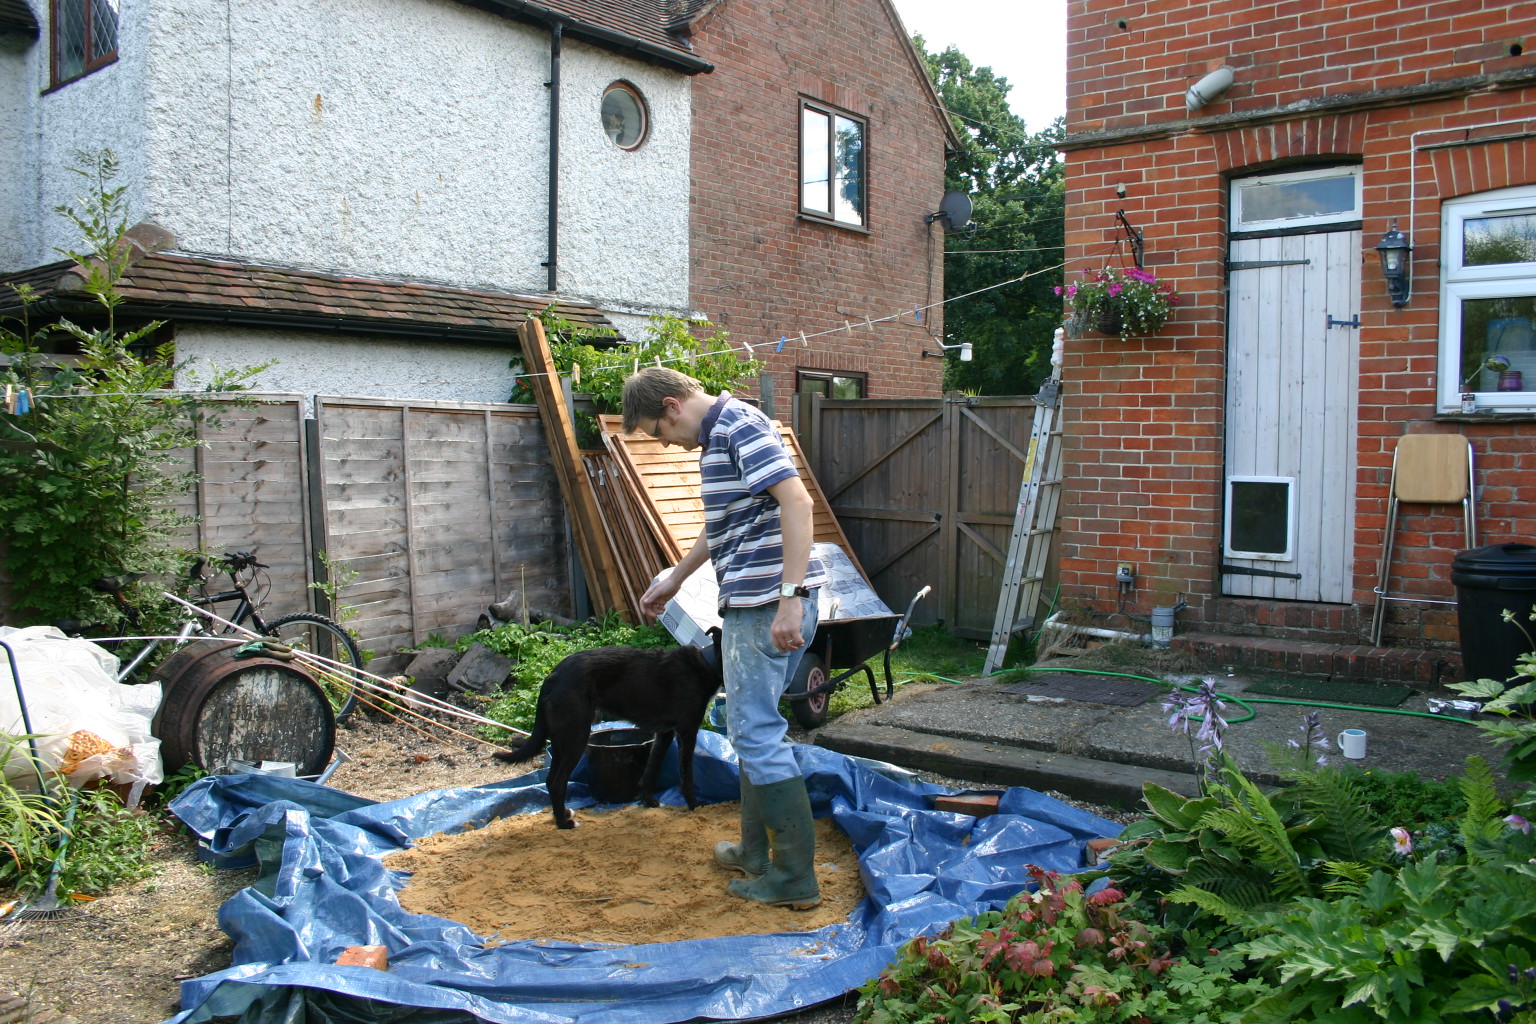
Puddling Sand-Clay mixture with help from my dog Scout!
Wearing your boots, start to mix the sand using your feet (puddling). The best technique is to tread and twist. I recommend putting some music on and get into the groove! Seriously, you will look pretty daft doing this but you need to twist – Chubby Checker sty-lee! This is where a group of friends come in very handy. Many feet make light work of puddling sand and clay. It is great exercise though so keep reminding yourself how much good it is doing you when you start to get knackered and bored!
- Keep mixing until the clay lumps have disappeared then add more clay chunks and get back to puddling.
- Keep repeating this until the bucket of the clay is mixed into the sand.
I found it takes somewhere between 45 minutes to 1 hour to mix one batch. One tip I discovered which speeds things up is make sure the sand is damp before you start mixing. It definitely helps the clay mix in better (essentially you are coating sand grains with clay and water helps break down the clay bonds I assume?). Add some water before hand if you need to but dont go mad with it!
The last thing you need to do is check that the mixture is of the correct consistency i.e. not to wet and not too dry. You might be surprised at how sandy the mixture seems but this is how it is meant to be. The team at River Cottage HQ had a great method for testing the consistency though which I will share with you.
-
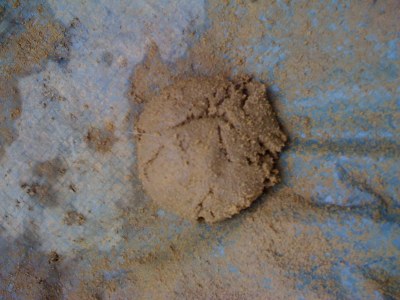
Sand - clay ball after drop test. It held together just right!
Grab a handful of mixture and form a ball about the size of a lime.
- Hold your arm directly out in front of your body at shoulder height.
- Drop the clay-sand ball onto hard ground in front of you.

The ball should hold together quite coherently. If it splats flat the mixture is too wet and you should add more sand to dry it out a little. If the ball breaks to pieces (explodes) it is too dry and you can add a little water. Simple!
Once you are happy that your mixture is just right shovel it into a thick plastic bag to keep it moist while you mix the next batch.
If you are ready to start building your first layer I recommend shoveling the final batch into a wheelbarrow for ease of use. Wheel it over to your plinth – it’s time to start building your oven!

Do you know if you can use fire clay instead of ordinary clay?
Yes, you can.
How much clay should I buy for this project? Just trying to gauge required quantities?
Hi Simon,
A friend just told me about his grandfather’s clay oven in France. It seems this man had the first bakery in his town. My friend’s grandmother told hime that the secret flavor of his bread came from the honey he mixed into the clay. Have you ever heard of this?
Sounds lovely!
HI Simon
I’m getting ready to rebuild my oven again, I built a nice solid table with 6×6 legs on top of a layer of pea gravel. My clay is not all that wet, it is in really big heavy chunks for the most part. I took a couple of 20 gallon buckets and filled them half way with clay, and then covered with water. I’m hoping to have a nice soft clay to work with and hopefully won’t need to add any water when puddling. Do you think this is too much water? Should i just add a bit of water and then mix it in with the clay? Right now the clay is completely submerged in water, but wondering if that is maybe too much
thanks!
How much clay would you say one use when following the wonderful instructions you have provided? I am having trouble locating clay in Maui HI and need to order some bulk.
As well would you recommend doing a solid layer of cement or any other layer on top of the oven dome to help keep the form and prolong the life span?
Thank you again for the amazing tips and instructions! Truly inspired!
Try this blog post: https://clayoven.wordpress.com/2015/04/06/everything-you-need-to-build-your-own-traditional-pizza-oven/
I know that some people have applied an outer layer of cement. I have not tried this myself so I have no idea how it would react to expansion. Worth a try though!
Have fun Lucas.
Simon
Hi Simon,
Great blog and the book is great.
I sourced some clay locally from a pit which produces “Jurassic Clay” to make bricks. It is black and apparently has a 15% sand content. So, being 85% pure clay, which is apparently high, does that still warrant the 1:2 ratio?
Im worried about it cracking!!
Any advice helpful at this crucial stage!!
Thank you
Charlie
Hi Charlie
I fear you will still need to add sand! Please see this post:
Simon
Pingback: Just add water! | The Clay Oven
Hi, Simon – forgive me if I am just missing it, but how many lbs of clay would you suggest for an oven the size you have built?
Have a look at this article Lisa.
I am planning to build a mini forge. Should I really use 1clay:2sand ratio? Because I dried two clumps of clay overnight: one is pure clay and the other is 50:50 clay-sand (river sand), and the pure clay was significantly tougher than the clay-sand. I know sand has to be mixed to prevent too much shrinkage/cracking, but I guess there should be more clay than sand.
Hi Anthony, you really need to add sand or the whole structure will crack to catastrophic failure.